Before SQL 2005 even had an official name and we were all referring to the product as Yukon, we've been told by Microsoft that the release would be "Secure by Default". What does that mean exactly? Well, what it means is that the base installation's configuration settings are as restrictive as possible. You must explicitly enable features and services that provide additional functionality for SQL Server 2005, yet may expose it to unwanted intrusion. The tool Microsoft has provided for this task is the SQL Server Surface Area Configuration. This tip will focus on one of the features that is enabled via this tool: Database Mail.
| SQL Server 2005 Surface Area Configuration - Database Mail |
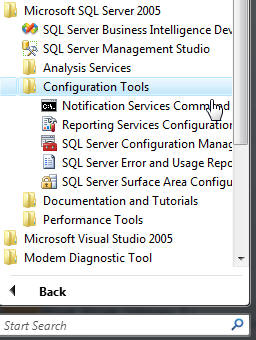
| Step 1 - The enabling of this feature is simple enough; launch SQL Server Surface Area Configuration from your Start Menu: |
 |
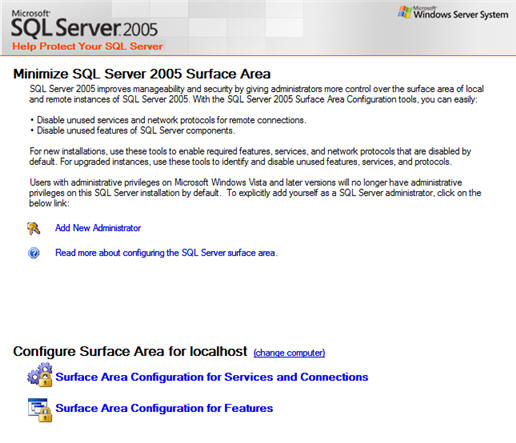
| Step 2 - Select Surface Area Configuration for Features: |
 |
| Step 3 - Expand Database Engine, select Database Mail, and check the Enable Database Mail Stored Procedures checkbox. |
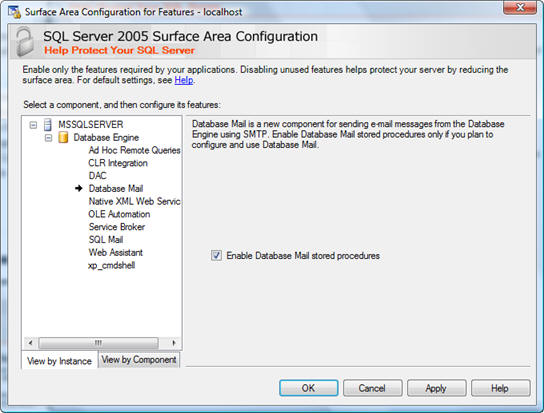 |
At this point you've simply enabled the 25 system stored procedures that are used to perform email operations in SQL 2005 under the auspices of Database Mail. It is now necessary to configure Database Mail for your environment. For that we must move onto more familiar territory: SQL Server management Studio (SSMS).
| Database Mail configuration in SQL Server 2005 Management Studio |
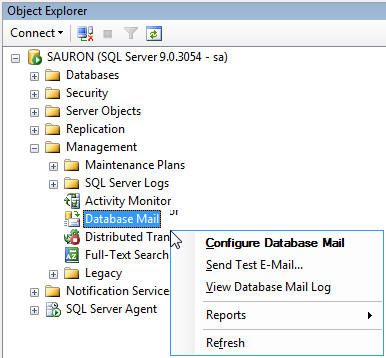
| Step 1 - After launching SSMS, you'll need to connect to the server for which you wish to configure Database Mail. Expand the Management folder, then right-click Database Mail and select Configure Database Mail. |
 |
| Step 2 - Doing so will launch the Configure Database Mail Wizard. It may look a little confusing at first, but once we step through it the script at the end of this tip will make more sense. |
 |
| Step 3 - Since we're setting up Database Mail for the first time, select the Setup option as recommended. |
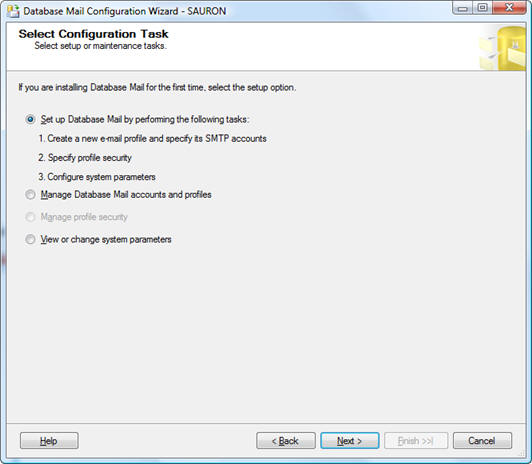 |
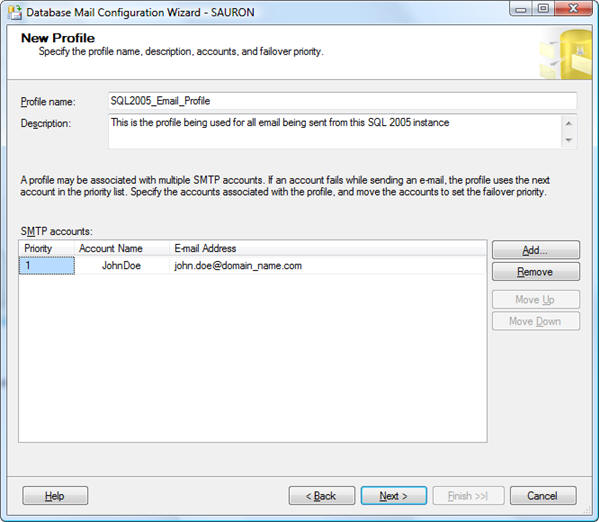
| Step 4 - The first step is to set up an email profile to be used with mail being sent from your SQL Server 2005 instance on this screen you will be required to create a profile name, description, and then assign an SMTP account to the profile. |
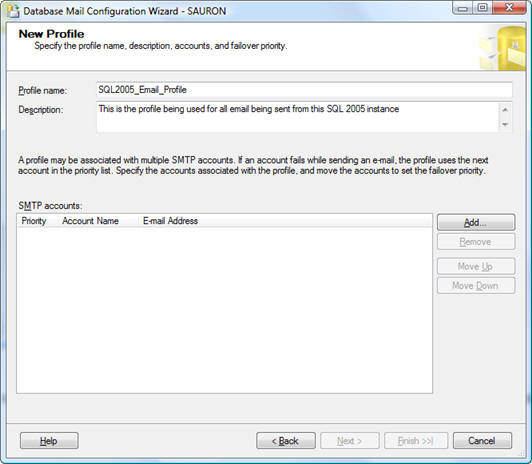 |
| Step 5 - Click the Add button to assign an SMTP account to the profile you're creating. You may need to work with your Server Technicians and/or Security Teams to collect some of the information you'll need. It's best to have this ahead of time so as not to hold up the process of configuring Database Mail. You will need the account name, description, email address (both incoming and outgoing), display name, and SMTP server name for this account. Be sure to confirm the port number with your Server Technicians as well. Typically, the default of port 25 will work. Select how you want to authenticate to the SMTP server and then click OK to proceed. |
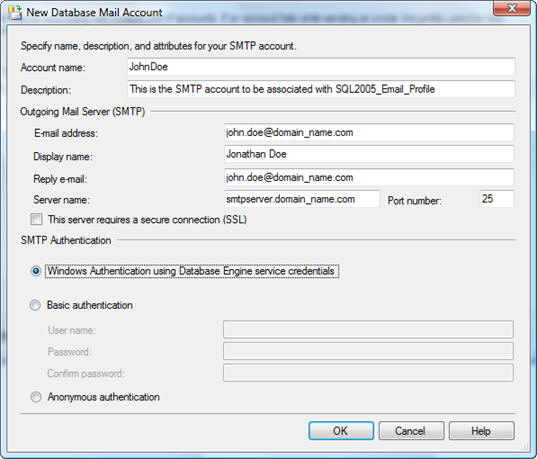 |
 |
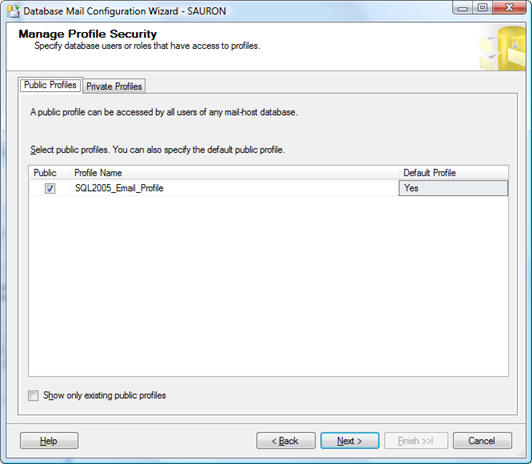
| Step 6 - You will notice that the account information is now listed. You can set up multiple accounts for the Database Mail profile to allow for failover if you so choose. Click Next to continue onto setting up security for the Database Mail profile. I've already taken the liberty of setting this up as a Public Profile. This means that all users of the SQL instance will have access to this Database Mail profile. You have the option of creating Private Profiles that are only accessible to certain users of the instance. In our environment we have a default Database Mail profile that is used across all SQL instances. Your environment may differ. A Future tip will outline creation and use of Private Database Mail Profiles. |
 |
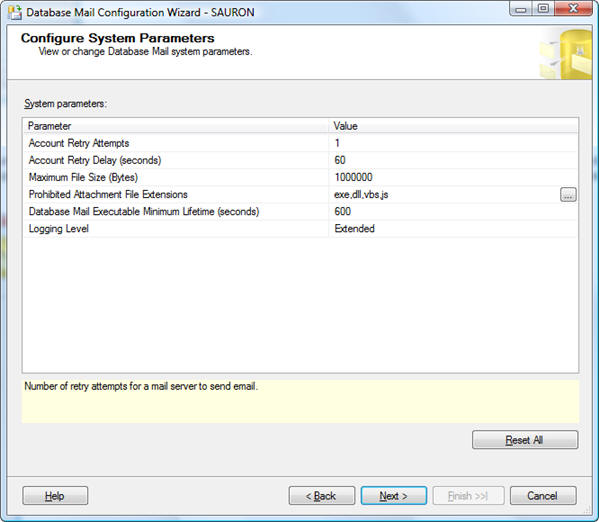
| Step 7 - Once your form looks similar to this click Next to proceed to setting up your Database Mail system parameters, that form will look something like the one below. I make no suggestions here. You need to configure these settings to best-suit your environment. In our environment I tend to allow for up to 5 retry attempts, but other than that I leave the defaults unchanged. |
 |
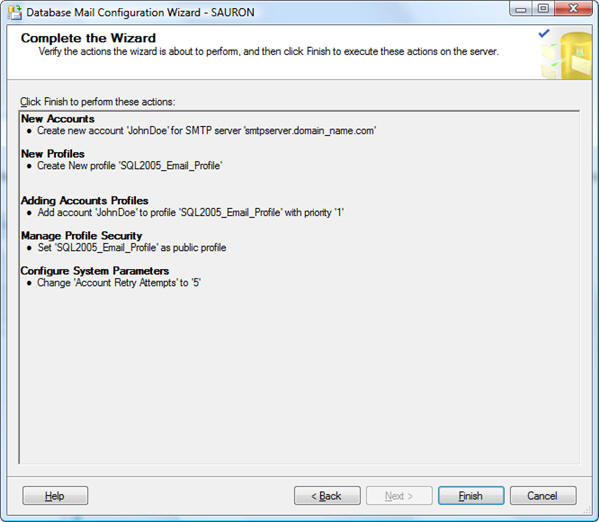
| Step 8 - It is finally time to finish up with the wizard. Click Next for a summary of all the configuration settings you've made. Once you've reviewed them you can proceed with running the underlying stored procedures that create . |
 |
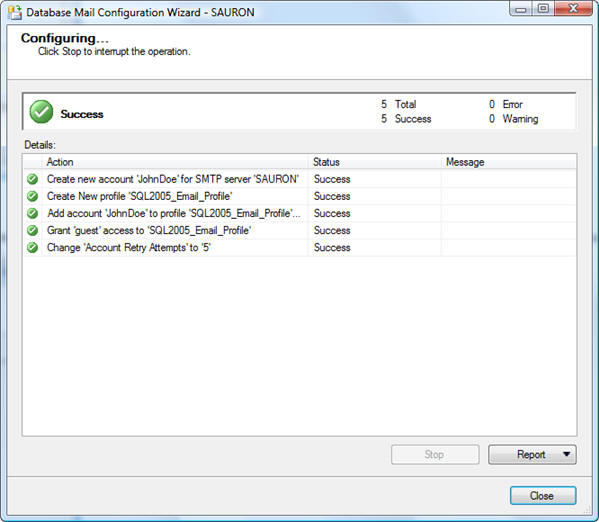 |
No comments:
Post a Comment